6 Of The Prettiest Ombre Nail Designs
By Grace Lindsay, September 10 2020
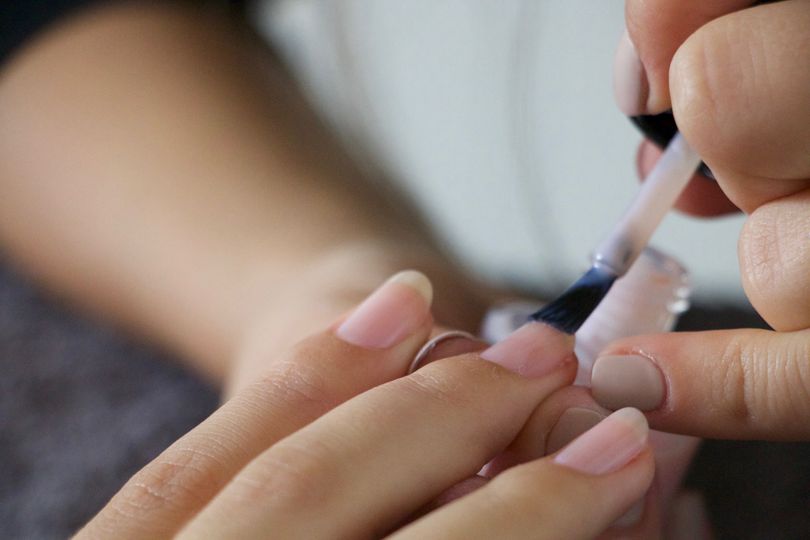
Bored of the same old nail look? We are too, like who even paints their nails the same colour anymore, that is so last season. This summer, we are all about the ombre nail trend. They are a foolproof way to make yourself look instantly on trend, and to make it seem like you have put a whole load of effort into your manicure, when in reality these looks are simple to create!
We thought we would talk you through our favourite ombre nail designs for summer, so you can take inspiration and try them out for yourselves, just don’t blame us when everyone wants to steal your look!
The first design we have been loving is this rainbow ombre effect, because nothing says summer like a bunch of pastel rainbow colours, right? To achieve this look you will need four different colours. Layer them onto a makeup sponge in the order you want, then press the sponge onto your nails. It might require some tidying up, but once finished, you will be left with this ultra summery look.
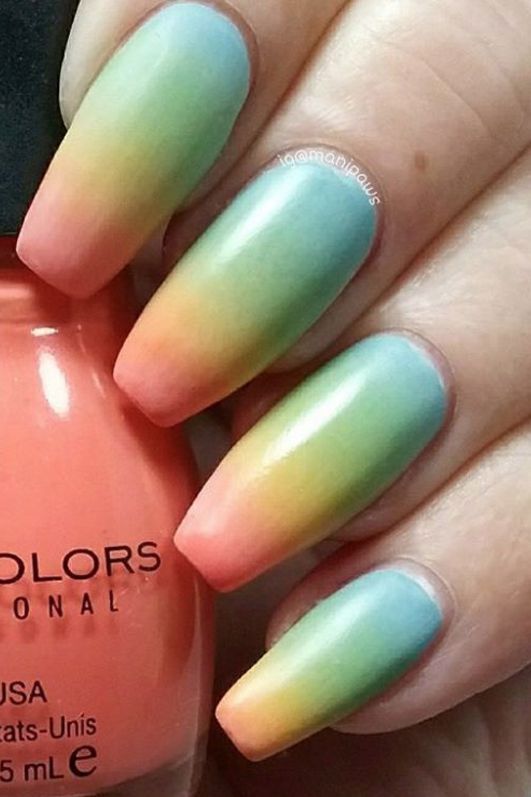
Why do things always look better when they are matte?
Cars, iPhones, and lets not forget your t-zone (all our oily skin girls out there, we feel your pain.) Do you know what else looks better matte? Nails. Even better, ombre nails.
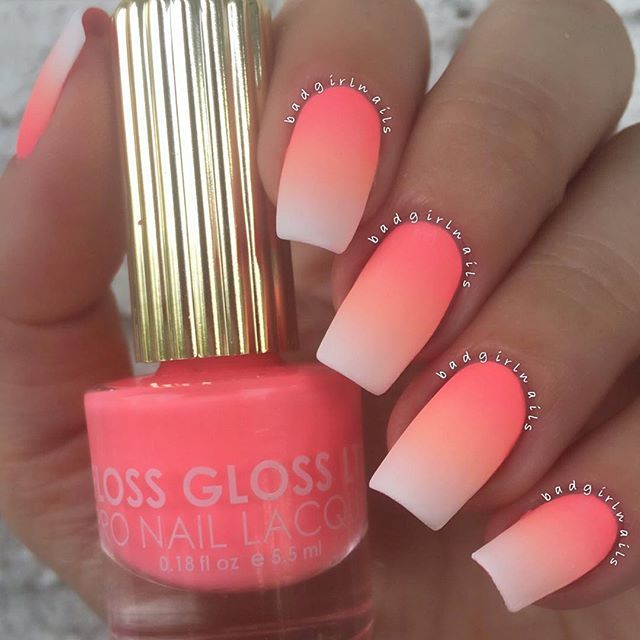
Our second look of choice is this matte ombre design. In order to get your nails looking matte in minutes, all you have to do is purchase a matte topcoat. Once your ombre design is dry, pop on the top coat and you’re good to go! Use the same steps as above to achieve the ombre you dream of.
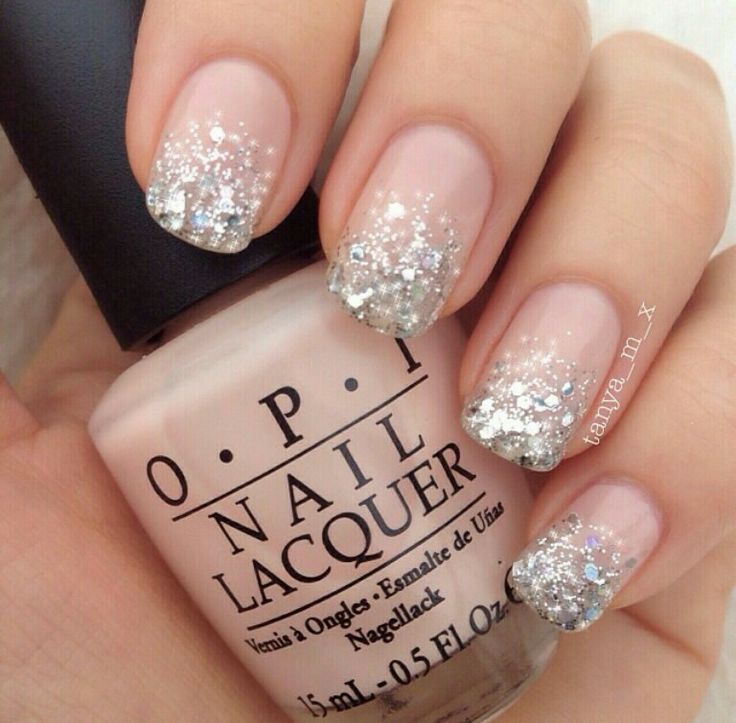
Heading to a festival this year? Why not try glitter ombre nails! Nothing says you’re ready for a festival like a bit of glitter, so these eye catching nails are sure to get you into the spirit of things.
This is also one of the easiest looks to do, just apply a base colour onto your nails, then use a glitter nail polish and focus on applying it onto the tips of your nails. Use a sponge to ensure you get that faded look.
Want more beauty tips for the festival season? Check out our article about this years festival beauty trends here.
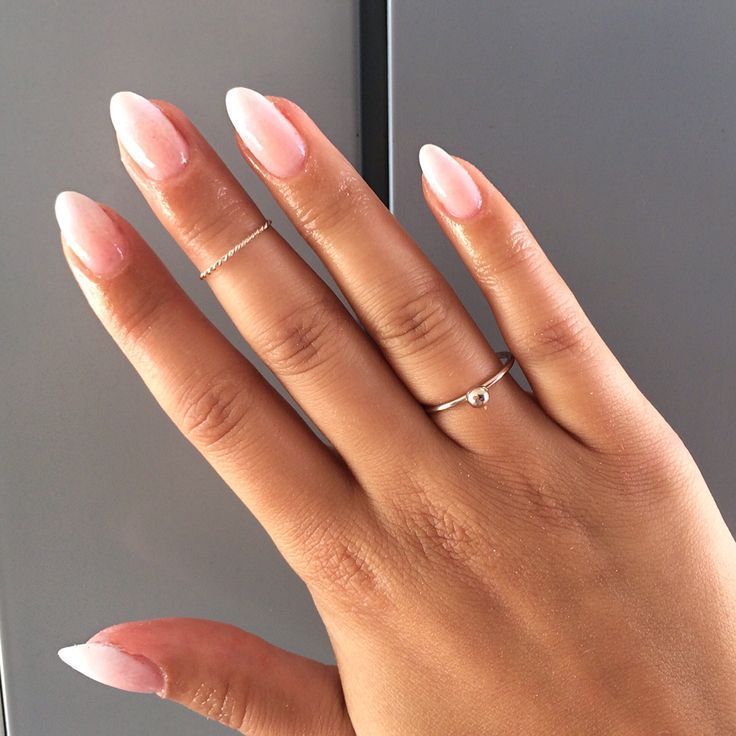
We all love a classic french manicure, right? This look gives the classic design a modern edge. Instead of having a white tip, it becomes a subtle ombre effect, and we personally can’t get enough of it! It’s known as a “french fade’ (that’s what the professionals say anyway), and as you can see, it involves a gradual fade from pink to white.
The secret to this look is to, again, use a makeup sponge. Who knew they could be so handy when it came to nails, eh? Apply your pink base coat as you normally would, then use the sponge to dab on the white, faded tip. Top it all off with a top coat and voila, your “french fade’ is complete.
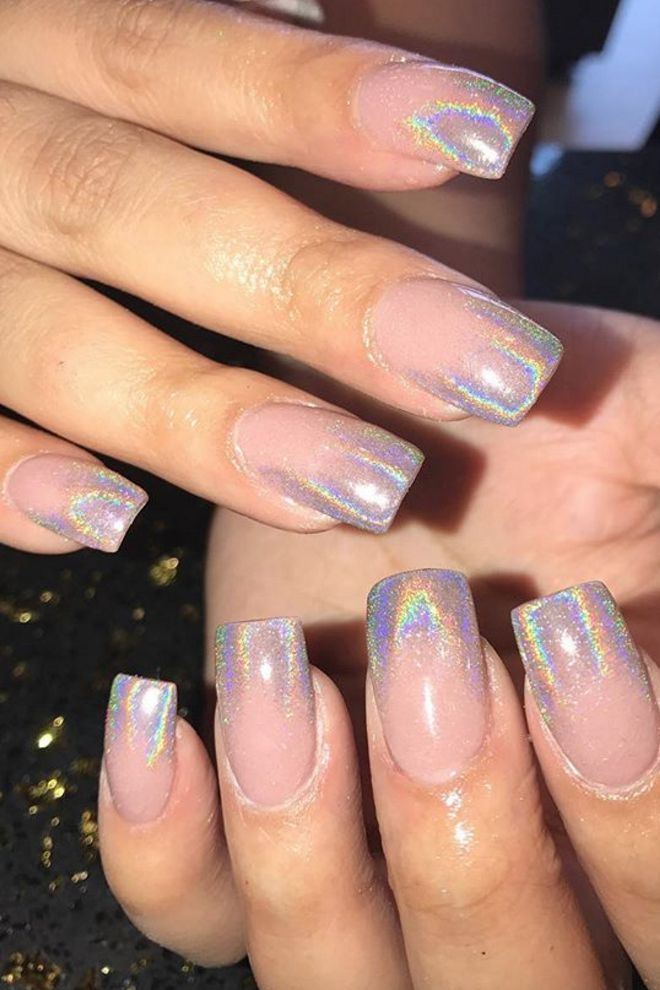
Lastly, but certainly not least, this holographic ombre is bound to get heads turning. We have been seeing holographic nails everywhere this summer, and this design takes them that one step further. It’s a similar process to doing a holographic nail, but instead of applying the powder everywhere, just focus it on the tip of your nail, and gradually fade it as you get further in.
If you’re the classic type, you can never go wrong with a nude ombre. This minimalist and elegant style is suitable for all occasions – weddings, parties, the office, anywhere. Apply a nude base coat as normal and then apply a lighter nude on the sponge and dab it on the tip of your nails. Finish it off with a top coat and some cuticle oil, and there you have it – a glossy, nude ombre!
Don’t fancy attempting ombre nails yourself? Why not book with one of our talented nail technicians? At LeSalon, our technicians come to you, so you can get all your ombre nail needs in the comfort of your own home!
How to look after your ombre nails
Now that you’ve got your dream nails done, you’ll want to make sure that they are kept in the best possible condition. While you can get ombré nails done with classic polish, we recommend having them done with Gel or Shellac. Gel and Shellac needs to be cured and lasts for up to 2 weeks, as opposed to a classic manicure which can wear off after 24 hours.
However, the length of your manicured nails depends entirely on how you care for them. So, here are our top tips:
- Apply cuticle oil daily. Cuticle oil helps hydrate and nourish your nails and – you guessed it – your cuticles. This will strengthen your nails and prevent your cuticles from breaking. If your cuticles are cut or break, they risk getting an infection which is definitely one way of ruining your manicure!
- Base coat and top coat always. If you’re doing your own manicure make sure you always use a top coat and base coat as they will protect your natural nail from the polish. If you’re getting a manicure done professionally, your therapist will always use these for, both a classic manicure and a gel.
- Don’t pick at your polish. With a classic manicure, it’s easy to start messing around with your nails and pick the polish off; however, this will damage your natural nail and cause them to feel weak and brittle. If you need to get the polish removed, either get it done professionally or wipe a bit of acetone over the nails.
- Lotion up. Having a tube of hand cream on your desk, in your bed, or by your bed is always a good idea, and getting used to applying some every day is an even better idea. This will help prevent dry, flaky hands and keep them nourished instead. Hand lotion is the key to youthful hands.


