What Are LVL Lashes?
By Grace Lindsay, August 9 2021
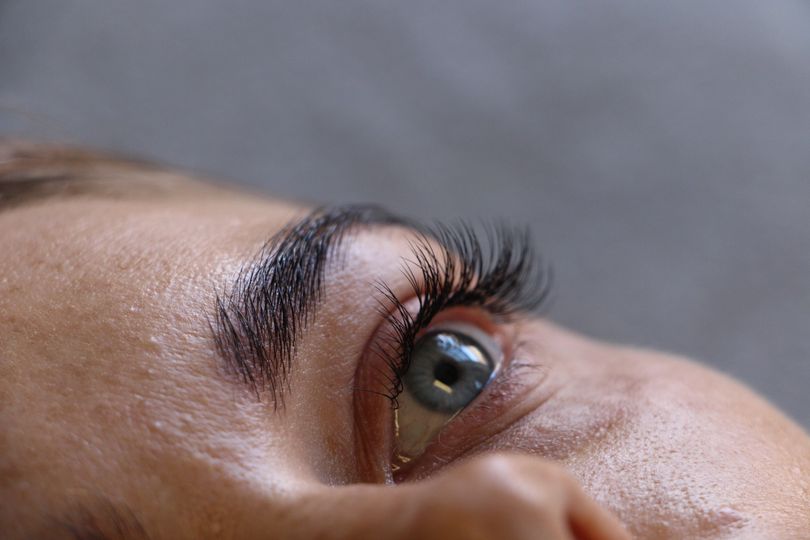
A new lash treatment is on the scene! That’s right, it’s not all about the falsies anymore, this time we are coming to you with a treatment that actually involves your natural lashes, because we are all about being oh so natural. What is this treatment you may ask? Well, it’s called an LVL lash treatment and it’s all the rave in the beauty world at the moment! Everyone and their mum is talking about it, as it gives you lifted, curled and defined lashes that last for weeks!
LVL itself stands for length, volume and lift. That’s right, it does all three things in one treatment! This means that you can stop layering lots of different mascaras which all promise to do various things, this is like all your favourite mascaras in one! An LVL lash lift involves two processes; an eyelash perm and an eyelash tint. The perm promises to keep your lashes looking curled for 6-8 weeks, so you can be sure to throw away those eyelash curlers! The tint gives the illusion of mascara, meaning you can wake up already feeling ready for the day. Read on to hear about the process step by step.
Step 1
Before we get into the actual treatment, it’s important to note that your therapist should make you carry out a patch test 48 hours before. Your eye area is extremely sensitive, therefore a patch test is crucial in order to make sure that the treatment won’t end up irritating your eyes. For the patch test, your therapist will apply the various different treatments and dyes to your skin. If after 48 hours you don’t experience any redness, itching or irritation, then you’re good to go ahead with the treatment! If you do still end up feeling any kind of discomfort during your treatment, make sure to inform your therapist straight away.
Step 2
First, your lashes will be cleaned by your therapist. This is to ensure that no residue or oils are present on your lashes before the treatment, as it’s important that nothing interacts with the treatment whilst it takes place.
Step 3
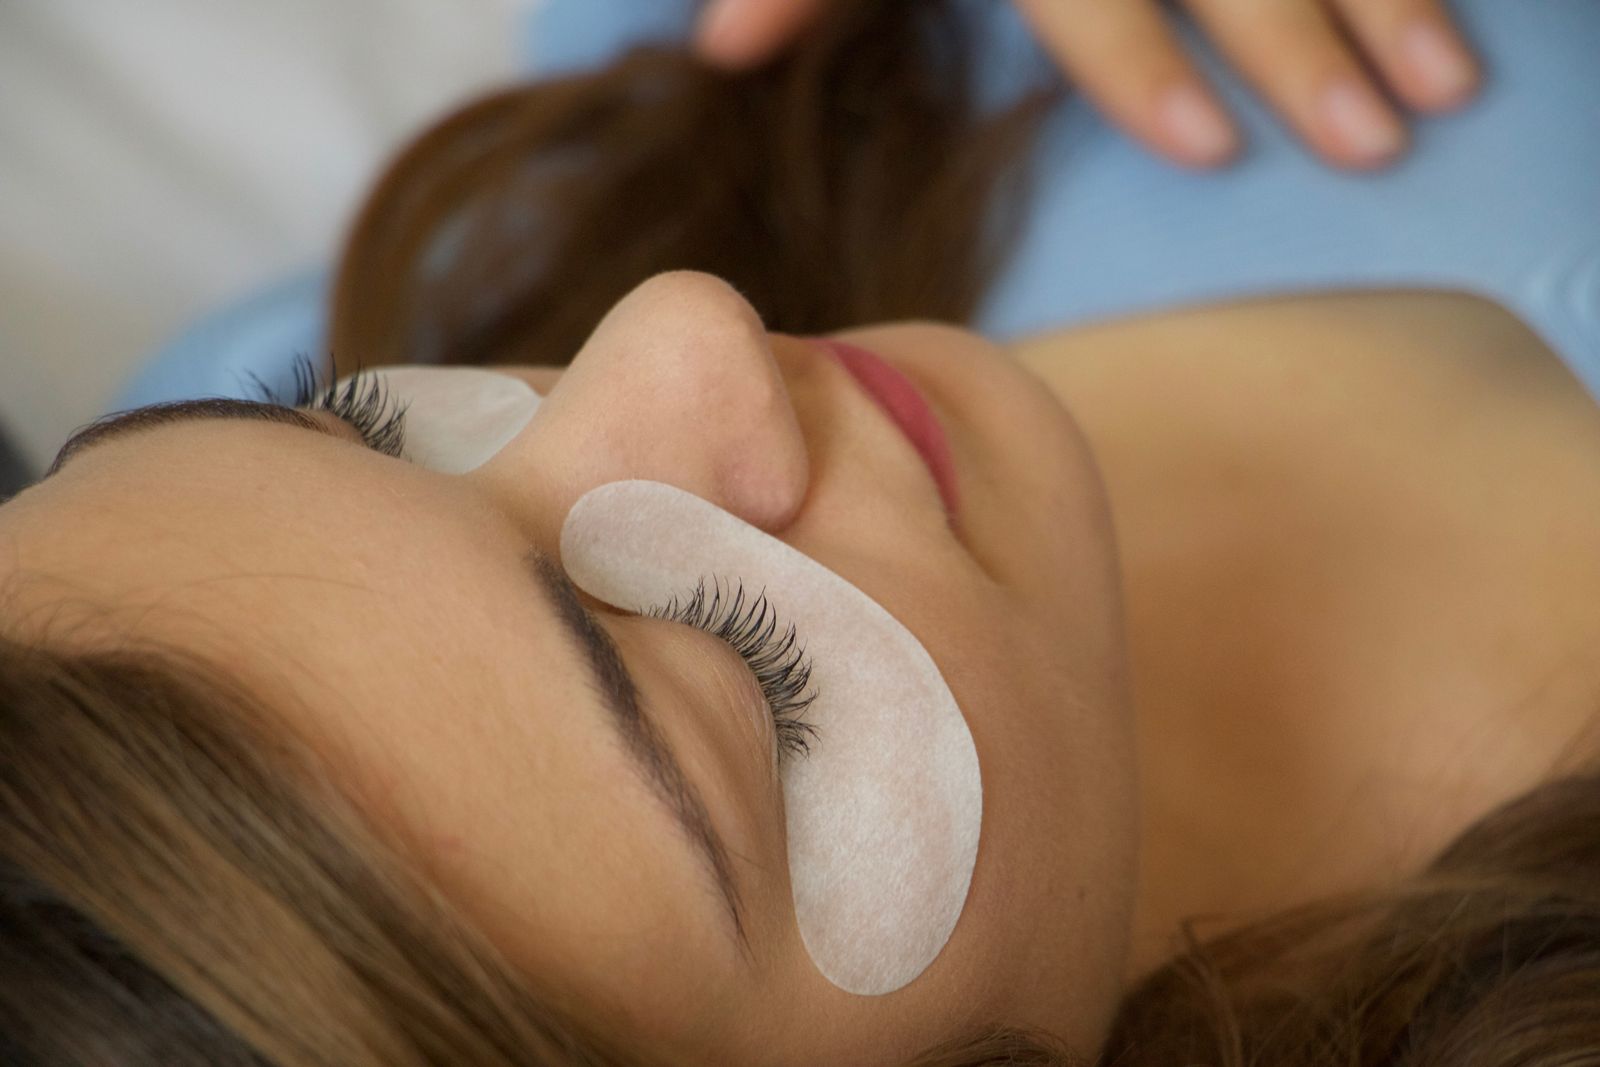
Second, a shield is placed over your lower lashes. The shield is to protect the lashes from the perming solution, because let’s face it, a perm on your lower lashes just wouldn’t be right.
Step 4
Once the shields are in place, you can close your eyes and relax, as the treatment will begin. A shield will be placed on your upper lashes whilst your eyes are closed. You will be given a choice of different shield sizes depending on what impact you want your lashes to have. You will have the choice of small, medium and large, with the small being the most dramatic and the large being the least, due to it curling the lashes the least. This is all dependent on how long your lashes are naturally and if they have a natural curl, so it’s best to chat over your options with your therapist beforehand. Your lashes are attached to the shield with an adhesive, this part can feel a little weird as your lashes are being pulled back, but after awhile you get used to it!
Step 5
Your lashes will now be ready to be permed. This requires both a perming lotion and a fixing lotion being applied, the perming lotion being left on for around 15 minutes and the fixing lotion left on for around the same.
Step 6
Once this has set, all products will be removed, as it’s time to tint those lashes! The tint is applied and left on for around 3-5 minutes. You might be asleep by this point, as the whole thing is pretty relaxing! A perfect excuse to catch up on some zzz’s if you ask us.
Step 7
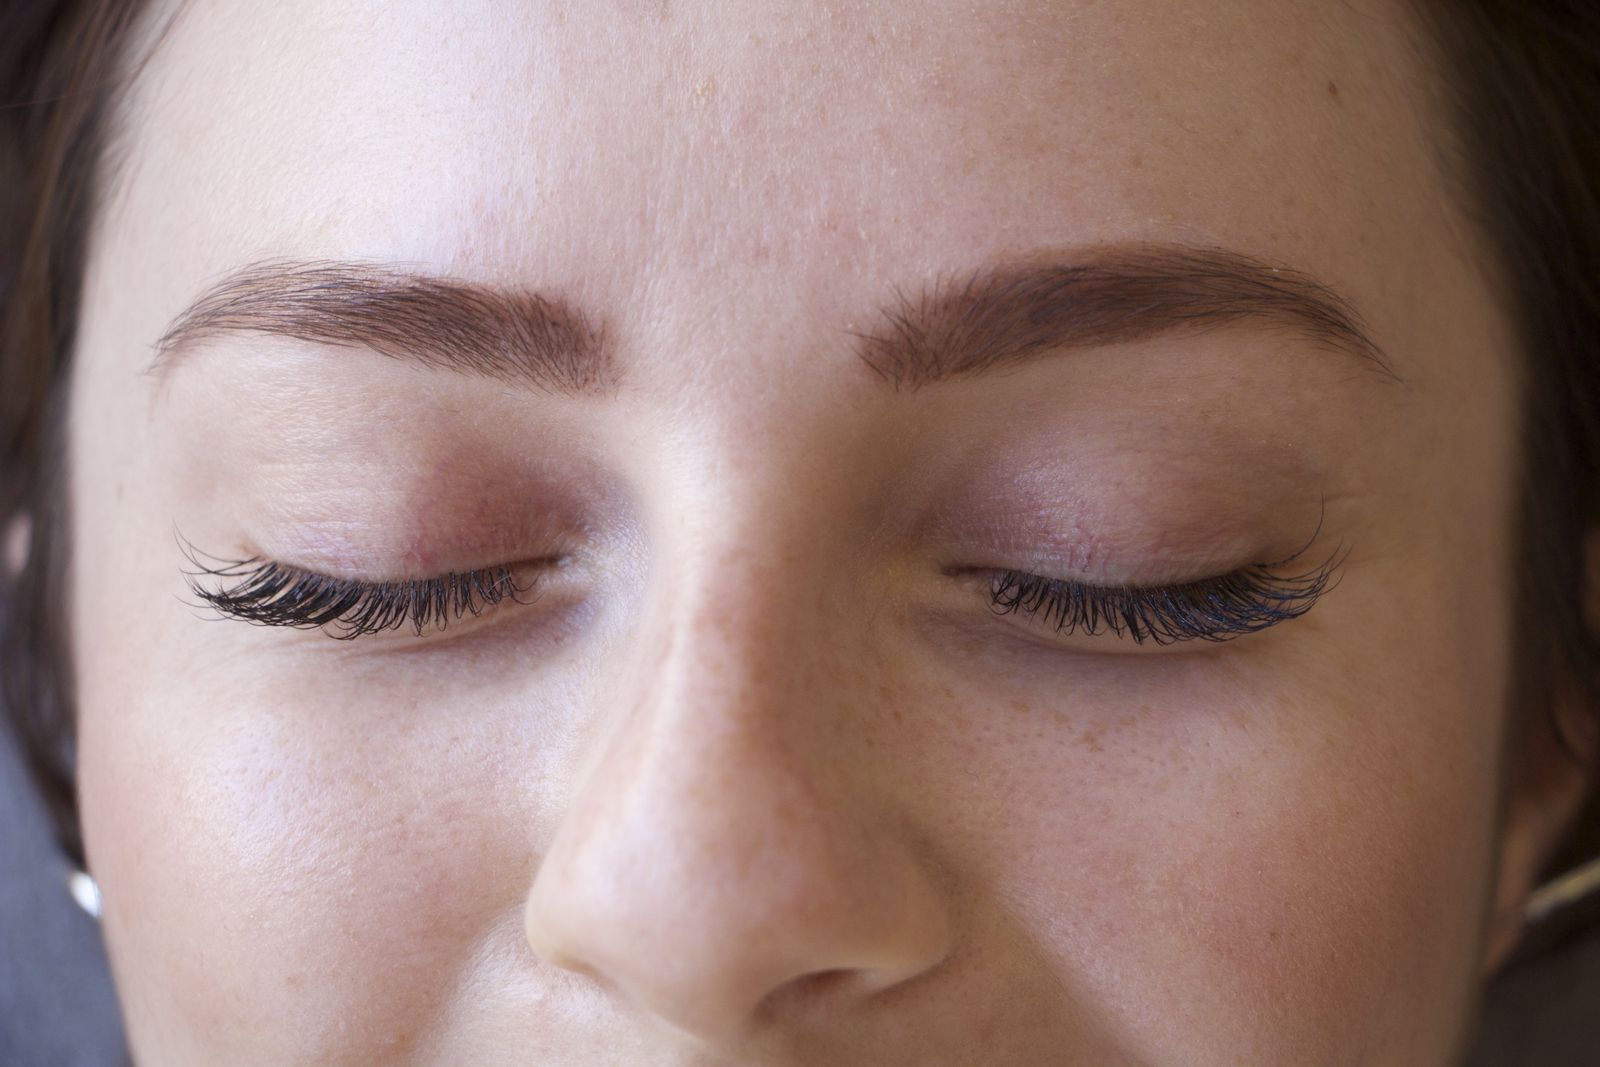
Once the tint is removed, a moisturising serum is applied to help the lashes come off the shield. The shields are then removed and you are free to open your eyes and take a look at your lashes. Bambi, eat your heart out!
Step 8
All that’s left now is to discuss the aftercare with your therapist. The general rules are; not to let your lashes come into contact with water for the first 24 hours, not to steam your face for the first 48 hours, to avoid waterproof mascara, to always use an oil free makeup remover on your eyes and to not rub your eyes too much!
So there you have it, LVL lashes in a nutshell. A lot of people wonder if they can cause damage to your natural lashes, but no need to worry, they are completely safe. People also ask if you can wear makeup during your time with LVL lashes, and the answer is yes! However, you might not feel the need to, meaning they are great for holidays when you will be jumping in and out of the water, goodbye panda eyes!
If LVL lashes don’t sound like your sort of thing, why not try out eyelash extensions? They are a great alternative to achieve amazing looking lashes, and here at LeSalon we offer the treatment in the comfort of your own home, so book with us!
Read more about all things lash related over on our blog.
Grace Lindsay

Grace was a contributor to LeSalon's blog and social media platforms. She has written various content pieces surrounding women’s health, beauty tips and trending nail arts.