The Difference Between Traditional And Shellac Manicures
By Brid McNulty, April 19 2021
Best known for its shiny finish and 14+ day lifespan, Shellac manicures are growing in popularity. Have you always been curious to try a Shellac manicure? But maybe you don’t quite understand what it is?
By the end of this article you’ll understand what Shellac is and the process of applying it. We’ll also give you some insider tips on how to make them last longer. In other words, you’ll be a Shellac connoisseur in no time!
Myth Busted
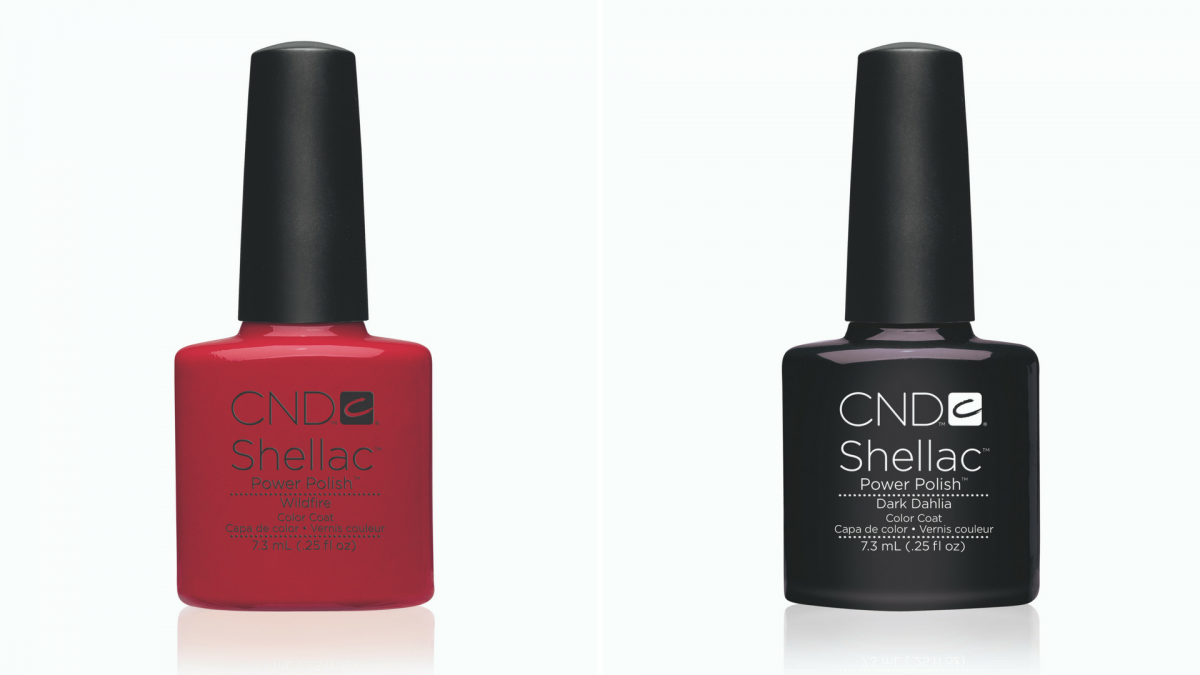
Before we delve into this topic any further, here’s a fun fact: Shellac is not actually a type of manicure, it is a product by the brand CND. CND-Shellac polish is used in gel manicures. Kind of like Tupperware or Bandaids, where people use brand names as a generic term for something. So there are many gel polish brands, with CND-Shellac being one of them. This is actually a very common mistake!
Since Shellac and gel manicures have become so synonymous today, we will continue this article using the word Shellac to mean a gel manicure.
What is Shellac? What are the ingredients?
It is a gel polish that comes in a variety of different colours. From the outside, it may look like regular polish, but Shellac requires a ‘curing’ or hardening process under an ultraviolet (UV) light. Shellac polish is a mixture of methacrylate monomers and radical initiators. The UV curing process refers to the chemical process when these two ingredients are exposed to UV light. The energy from the light sets off a polymerization process. Roughly meaning that the molecules in the gel are moving all over the place but once the energy from the light is absorbed they can’t move anywhere which makes the polish harden.
There’s a lot of chemistry to it. If you want an even deeper insight into gel polish, Nail Magazine is a great source.
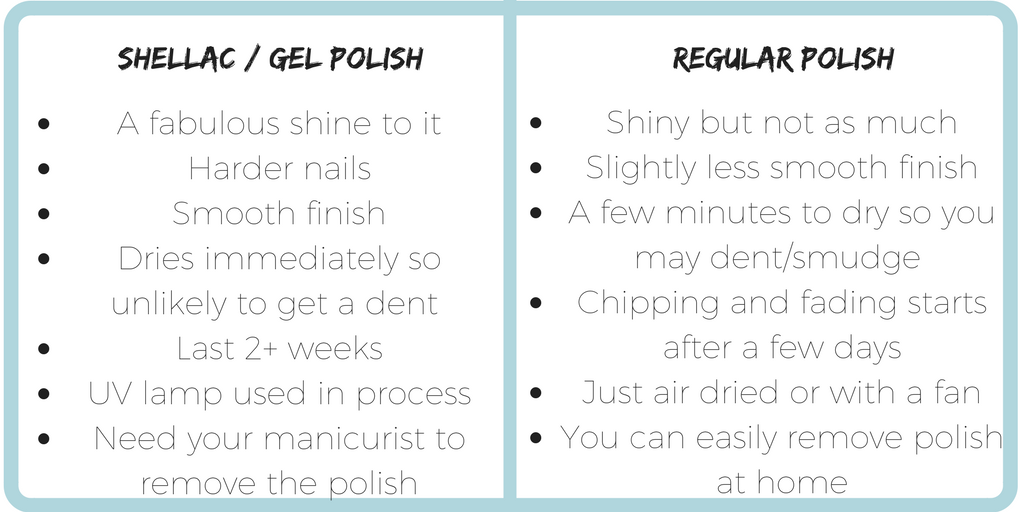
Key Differences Between Shellac and Regular Polish
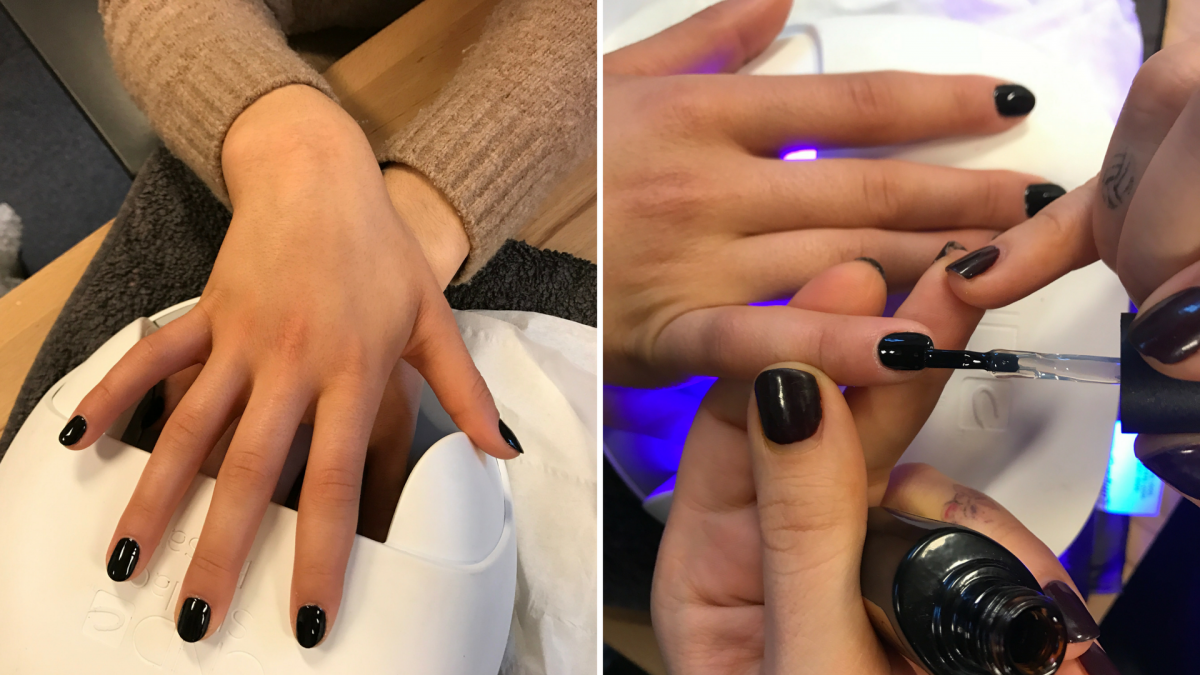
Shellac Manicure Process
The Shellac manicure process is similar to regular manicures in that you have a base coat, polish colours and a top coat. The key difference is the UV curing process. These are the steps to a Shellac manicure:
Step 1: Nail preparation
-File, shape and buff your nails
-Cuticle work
-With LeSalon, you will have a hand and lower arm scrub and massage
-Sanitise your hands
-Dry and clean the nail plate and remove excess oils
Step 2: Base Coat
-Apply one thin layer of Shellac base coat
-Hold your hands under a UV lamp for 10 seconds to cure the polish
Step 3: Colour Coat
-Apply one thin coat of Shellac colour
-Cure under the UV lamp for 2 minutes
-Repeat both steps for the second layer of colour
Step 4: Top Coat
-Apply one thin layer of Shellac top coat
-Cure under the UV lamp for 2 minutes
-Remove the sticky top layer with a wipe and 99% Isopropyl Alcohol (this layer is a by-product of the polymerisation process)
-Always apply nourishing cuticle oil to counteract the harsh Shellac polish.
LeSalon Tips
How to make your Shellac manicure last longer
-Make sure your nail plate is clean and free of excess oil before you apply Shellac. This will help ensure it stays on for the full 14 days. Of course, we recommend having Shellac manicures done by a professional for the ultimate long-lasting flawless finish.
-Do not pick at a Shellac manicure! Once the colour begins to lift, you may feel tempted to start picking it off. This damages the nail as water starts seeping into the nail, harbouring bacteria and potentially fungus. If you rip off the polish, you’re likely to take off some layers of your nail too. This kind of damage can take up to 6 months to repair! Not ideal! We strongly advise you to have your manicurist remove your Shellac properly. This is done through a soaking process with acetone.
There you have it – Shellac manicures 101 complete! Hopefully, you understand more about Shellac and gel manicures now. If you have any questions, feel free to message our on-site nail guru Christine (christine@lesalon.com).
For more information on all things manicures and pedicures, head to our Expert Advice page!
Brid McNulty

Brid graduated from King's College London and has since gone on to manage and produce various content pieces within the beauty industry. She now uses her skills in her new role as Data Scientist.