How To Properly Remove Gel Nails At Home
By Jennie Waeland, April 29 2021
Gel and shellac are definitely the more favoured polish types nowadays, as they have much more longevity and are less prone to chipping. The only downside to a gel or shellac manicure is that they aren’t as easy to remove as classic polish.
The easiest way to remove the manicure is to return to the salon and have a professional remove it for you. This is hassle-free and ensures that no mistakes will be made, and your nails will properly cared for in the process.
Alternatively, now that we are spending more of our time at home nowadays, some of us will be taking matters into our own hands – literally! If you are used to having them professionally removed, this may feel nerve-wracking the first time that you do it. We promise, it should get easier once you get the hang of it.
The good news is that you can effectively and safely remove your gel or shellac manicure yourself at home. If you follow our step-by-step instructions, you will be a pro at removing your own manicure in no time.
So don’t give into the temptation to pick or bite the polish off. This will only weaken and damage your natural nails. With proper care and no rush, it will be a piece of cake.
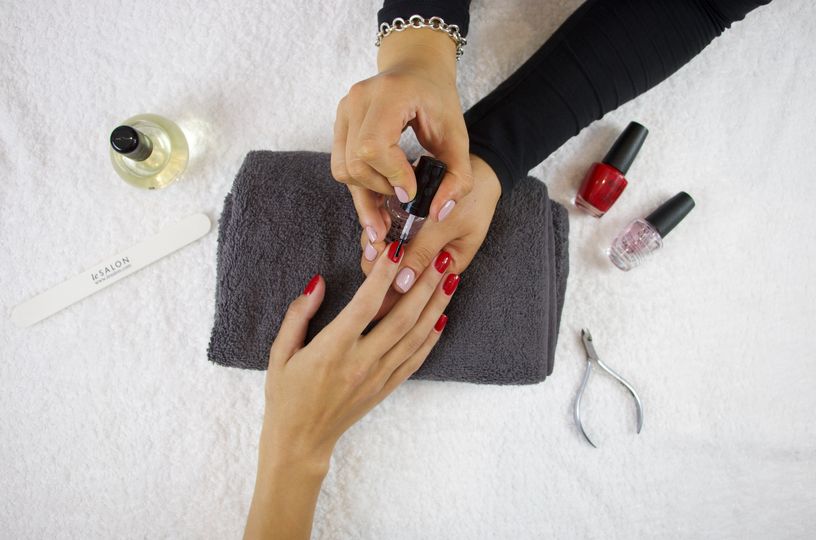
The tools
To start off, gather all the supplies so that they are in easy reaching distance during the removal process. You don’t want to start the process and realise that your foil is still in the kitchen drawer.
You will need:
- Acetone
- Cuticle Oil (not essential, but preferable)
- Nail File
- Cotton Pads
- Kitchen Foil
- A pointed tool (like a cuticle pusher)
You don’t need much for this process, just a few staple supplies which should already be in your cupboard.
Normally, for a classic polish, you would just need acetone and cotton pads. However, gel polish is much more stubborn on the nail. This is great for lasting on your nails, but not so fun when it comes to removing it.
Step 1: File
The first step is to grab a nail file and begin to ‘sand down’ the top layer of gel. By filing away at the polish, it will begin to lose it’s shine. This is what you want. Be careful not to file too much, but just enough so it becomes matte.
Step 2: Apply Cuticle Oil
An important, but not crucial, step is to apply a cuticle oil or thick cream to your nails and the skin around it. Acetone contains alcohol and can be extremely drying on the skin. This procedure can take around 30 minutes, which is a lot of time for the acetone to be near your skin.
Cuticle oil or moisturiser will create a barrier to help to rejuvenate and soften the skin, retaining its moisture.
Manicures can be a frequent self-care regime in your life so it is important to look after your skin properly. Our hands are commonly the quickest part of our body to age. From manual labour to harsh weather conditions, our hands need a lot of protecting.
Step 3: Soak in Acetone
Unlike wiping at your nails with acetone, like with classic polish, gel manicures need more time to sit.
Soak half of a cotton pad or cotton wool in acetone and wrap it around your nail. Cotton pads are easier to wrap around your finger, but cotton wool doesn’t dry out as quickly.
Do this for each nail. You can alternatively grab a small bowl and fill it with acetone and a few drops of cuticle oil.
Step 4: Wrap in Kitchen Foil
Aluminum foil actually helps to speed up the removal process. Tear the foil into small squares, roughly 3 inches by 3 inches. This is a great step to prepare at the beginning, you will thank yourself later. Place your finger, which should be resting in an acetone-soaked cotton pad, inside the foil and wrap it around each finger.
This process is quite fiddly, so we recommend starting with your non-dominant hand. The foil should hold everything in place, and the cotton pad should be tucked neatly inside, unable to unravel.
Step 5: Sit Back and Relax
Let it sit for around 10 minutes. Then you can start to check if the polish is lifting from your natural nail.
Use this time to relax and do something which doesn’t require your hands, like catching up on Netflix.
Step 6: The Removal
Once the gel polish has lifted from the nail, use the cotton pad to gently ease the layer off. There may be more stubborn smaller bits, this is where the pointed tool will come in handy. Very carefully, ease the polish off. If it isn’t coming off easily, soak your nails for a couple more minutes.
As long as you’re gentle and patient, you will do a great job!
Jennie Waeland

Jennie is LeSalon’s Social and Content Executive, covering everything from beauty, lifestyle and, of course, manicures. She graduated from the University of Roehampton with a degree in film and has since used her skills to produce various content and illustrational pieces.