How To Do An At Home Pedicure- Our 10 Step Guide
By Grace Lindsay, January 10 2019
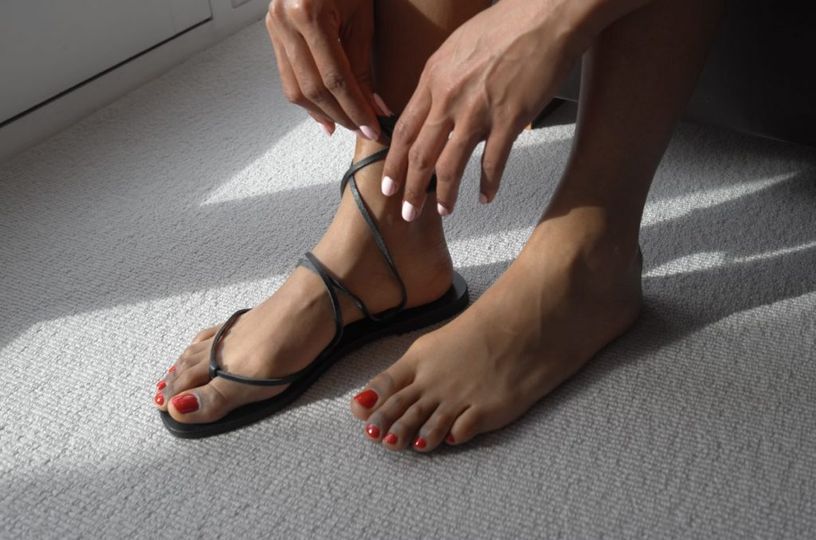
Summer is approaching, meaning only one thing, it’s time to tackle those tootsies. That’s right, hiding them in socks and boots is no longer an option, the sandals are making an appearance, and we are here to help you prepare for this somewhat nerve-wracking occasion.
We understand that not everyone has time to go to a salon in order to get their feet in tip top condition, so we have devised an in-depth guide on how to get your feet looking fabulous, all from the comfort of your own home. Ladies, let’s do this.
What you will need
A perfect pedicure can’t be carried out alone, so below we have listed everything you could possibly need to assist you in putting your best foot forward.
- A clean towel
- Nail polish remover
- Cotton wool
- Cotton buds
- Soap
- Foot file
- Foot scrub
- Foot lotion
- Nail clippers
- Nail file
- Nail buffer
- Cuticle oil
- Toe separators
- Base coat
- Nail polish of choice
- Top coat
Now that you’ve gathered your supplies, it’s time to sort out those feet! Here is our 10 step guide on how to do the perfect pedicure, DIY style.
Step 1-
The first thing to do is to remove any existing nail polish from your toenails. There is a good chance it could still be the polish that you sported the summer before, so it’s best to get rid and start afresh. New toenails, new you, right? To remove any old polish, simply soak some cotton wool in nail varnish remover, and gently dab this over your nails.
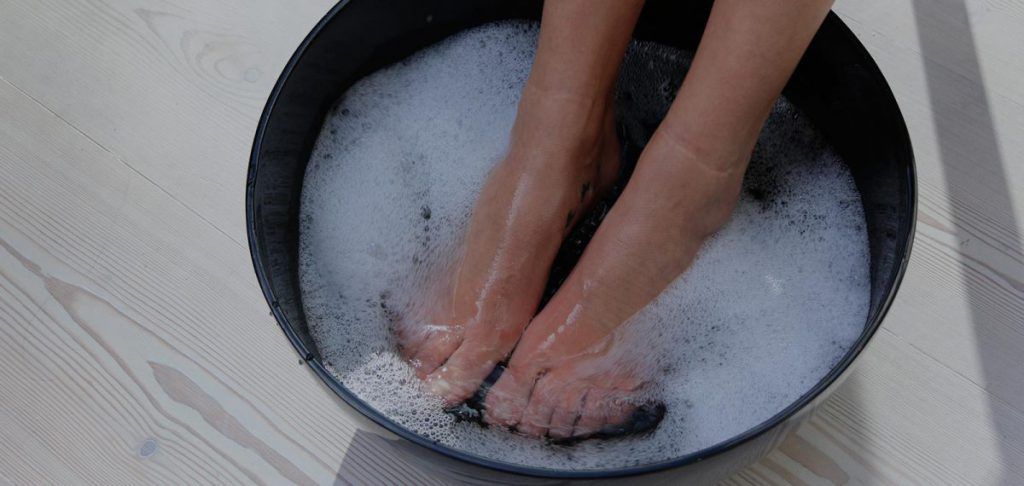
Step 2-
The next step would be to soak your feet. To do this, fill up your bath or basin with warm water and add in your favourite soap. Although soapy water will do your feet just fine, you can add in a few extras if you are feeling like really pushing the boat out. Adding in epsom salts can help relieve muscle pain and inflammation, so it’s perfect for just after exercise! If like most of us, you haven’t just come from the gym, you can also add in things such as lemon slices or lavender flowers to give your DIY pedicure a real luxury feel. Because let’s face it, you deserve it.
Once your soak is ready, place your feet in the bath and leave them in there for around 10-15 minutes, as this will make all that dead skin a lot easier to remove. Whilst you’re waiting, why not have a little read of our blog, we have loads more helpful articles about a whole range of beauty treatments ranging from manicures to eyelash extensions!
Step 3-
Now that your feet have been soaking for a while, grab your foot scrub and gently rub it into your feet. The scrub will exfoliate the skin, removing any dead skin cells and combatting any build up. Using a foot scrub regularly will also help minimise the risk of calluses. After using your scrub and washing and drying your feet, you can also use a foot file to target specific areas of rough skin.
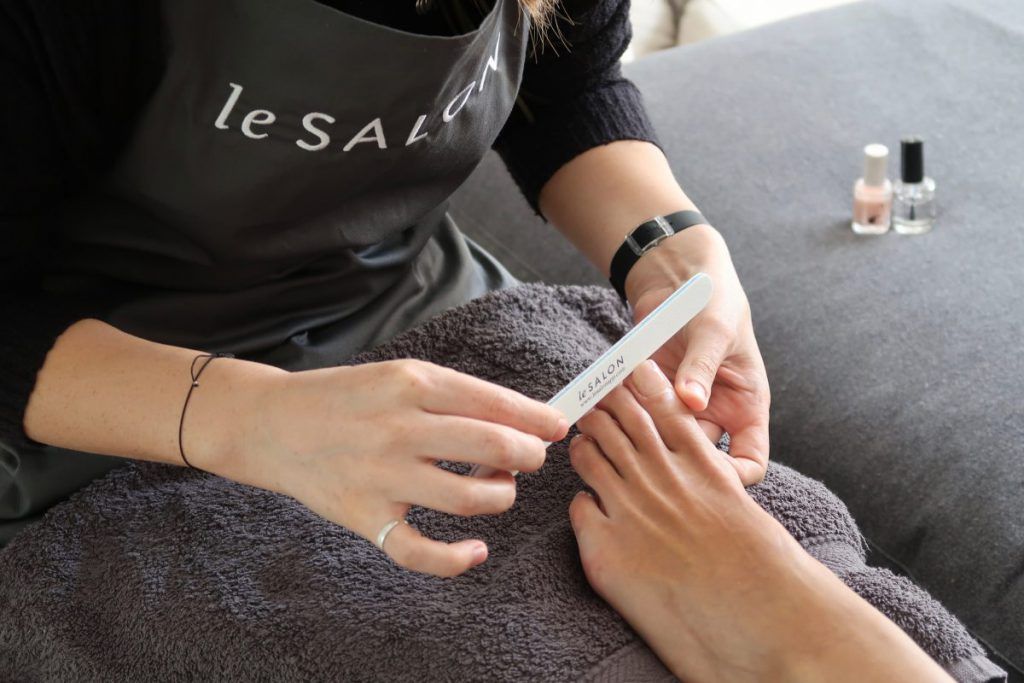
Step 4-
Now that your feet are feeling ever so soft, it’s time to move onto the nails. Nail clippers are great for trimming your nails to the desired length, however they can sometimes leave your nails with sharp, uneven edges. Once you have trimmed them, go in with a nail file to smooth the edges and to achieve the desired shape. We recommend filing in one direction, and keeping the corners of the toenails squared off to give them that professional pedicure look. You can also use a nail buffer on the surface of your nails to give them an extra shine.
Whilst we are on the subject of nails, it’s also important to sort out any ingrown toenails that may have appeared. Ingrown toenails are where the corners of your nails start growing into the skin surrounding them. It can be extremely painful, but luckily they can be prevented. We recommend not cutting your nails too short at the corners, and keeping up a regular hygiene routine when it comes to those feet, therefore you can wave goodbye to ingrown toenails for good!
Step 5-
Now that you’ve addressed the nail situation, it’s time to get onto those cuticles. This step is one that people tend to miss out when doing a DIY pedicure, but taking care of your cuticles is vital for your nails health, and if it’s good enough to be done in the salon, then it’s good enough for us! The best way to take care of your cuticles is to keep them moisturised, so try applying a cuticle oil directly on them. If your cuticles seem to be getting in the way, try to avoid cutting them. Instead, you can push them back using a cuticle pusher, just make sure to be nice and gentle!
Step 6-
As well as keeping your cuticles hydrated, it’s important to keep your feet hydrated too. Try applying a foot lotion regularly, as it will help keep your nails healthy and your skin soft. If your feet are feeling particularly dry, we suggest applying a foot lotion and then putting on a pair of socks. Although it might sound a little weird, doing this before you go to bed allows all the moisture to really sink into the skin.
Step 7-
Now that all the preparation has been done, it’s time to get painting! First things first, get those toe separators on. Toe separators are handy as they stop you from getting nail varnish where you don’t want it (all over your toes basically). Shockingly they also have some health benefits. They can improve balance, circulation and posture, wearing them is essentially like a yoga session for your feet. A work out and a pedicure all in one, now that’s something we can get on board for.
Once on, it’s all about the base coat. Base coats are great as they are packed full of vitamins that are specifically for your nails, and they also create a barrier so your nails are safe from the damaging effects of nail polish. On top of all of this they create an even base so your polish goes on smoother, and they help prevent staining and peeling.

Step 8-
Once the base coat is dry, paint over with a nail polish of your choice. Depending on the colour, you may need to do two coats to get that perfect finish. Now that it’s coming up to summer, we are all about the bright pinks, reds and oranges. If you’re lucky enough to be sporting a tan, we recommend using lighter colours, such as a white or a pastel blue. This will make your tan pop, meaning you will be looking ready for summer in no time.
Step 9-
You’ve completed the most difficult part, choosing what colour to put on those nails! To finish it off, go in with a top coat. This will help prevent your nail varnish from chipping and also help give it that salon worthy shine, making it look as if you’ve spent a whole lot more time on those toes than you really have. It’s ok, we won’t reveal your secret.
Step 10-
Your skin is soft and your nails are painted, what more is there to do? Don’t fret, you’re almost there. This final step is merely an optional one depending on your skills when it comes to DIY pedicures. A lot of people say that the reason that they don’t do their nails themselves is that they always make a mess and the polish is never quite neat enough. If this is the case, grab some cotton buds and soak them in some nail varnish remover. These can be used to clean up any excess polish that happened to miss your nails. Don’t worry, we’ve all been there!
So there you have it, the ten steps to your perfect DIY pedicure. However, if you don’t fancy doing it yourself, but leaving the house still isn’t appealing to you, why not book a pedicure with us! Here at LeSalon, we bring professional beauty services to you, so you can get that professional pampering delivered to your door, no trip to the salon needed!
Grace Lindsay

Grace was a contributor to LeSalon's blog and social media platforms. She has written various content pieces surrounding women’s health, beauty tips and trending nail arts.