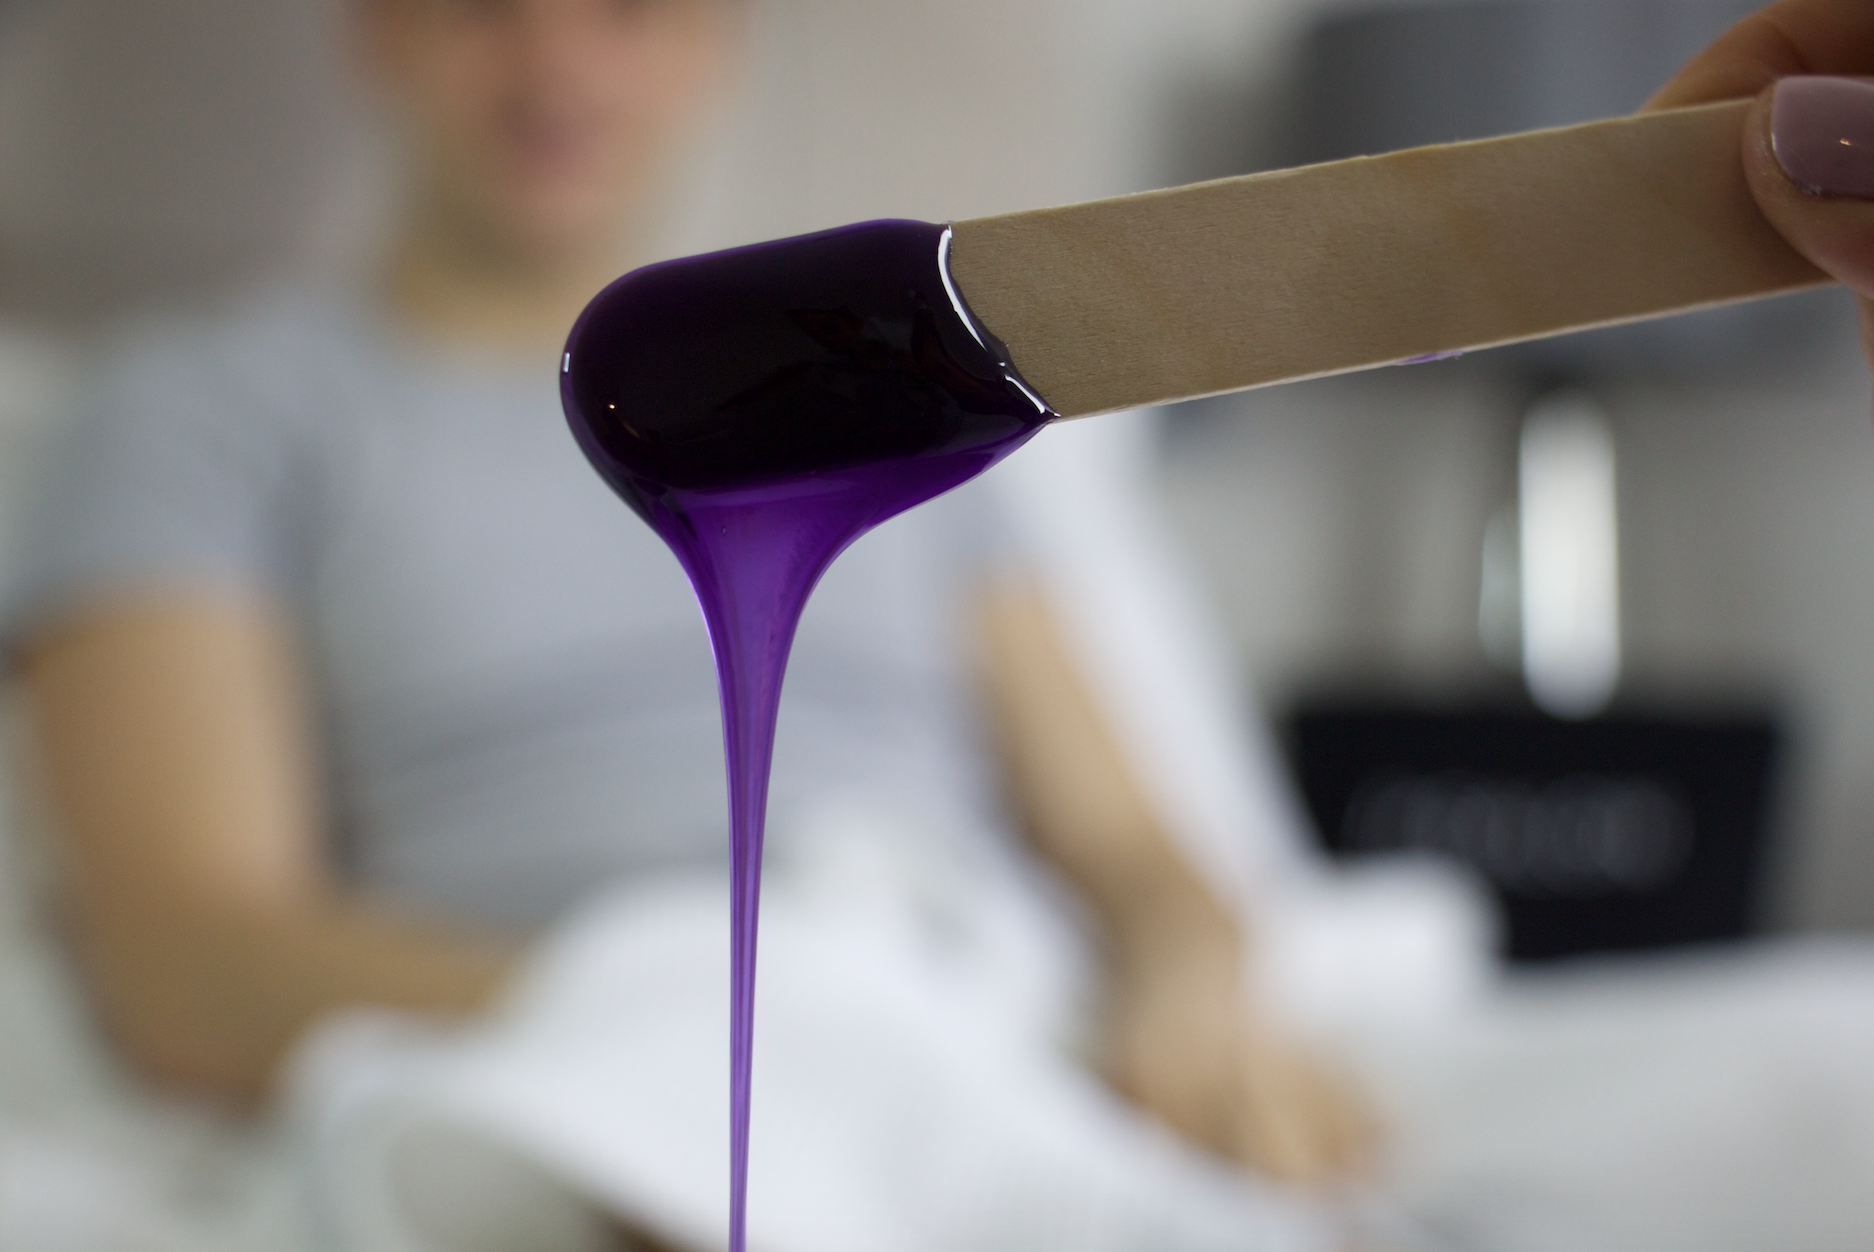
At Home Waxing Guide
By Zoe Greenwood, October 3 2018

All we want is silky, smooth skin 24/7, is that too much to ask for? Well, not anymore. If you’ve ever had a wax, then you’ll understand the joy of not having to think about hair removal for weeks. If you’ve never had a wax, then you’re in for a treat. We understand that not everyone can make time to go out and get one, so we’ve put together a guide for waxing at home and get that glowing skin we’re all wishing for.
We know this may seem daunting at first, especially for newbies – but once you overlook the temporary pain you’re about to unleash on yourself, home waxing will become your new hobby with this easy step-by-step guide.
Prep Your Skin
Before waxing, it is important that your skin is fully clean, so before you get started wash your skin with mild soap and water and then just simply rinse it off. Alternatively, you can buy pre-wax cleansers. After washing your skin, make sure to complete dry the area to ensure that the wax stays put.
When prepping your skin, make sure to exfoliate the areas you want to wax- this will remove any dead skin cells and will make the results a lot nicer. It is recommended that you do this 24 hours before you’re looking to wax so you don’t risk any irritation.
Application
You may not be a pro-waxer, but you can apply it like one. Make sure that the area is thoroughly cleansed to get rid of any excess oil so that the wax can settle. After that’s all done and dusted, apply the wax in the direction of the hair growth and make sure it’s thick so it’s easier to grab it when the wax has hardened up. If you’re using strips, then after you’ve applied the hot wax, lay down the strip over it and apply firmly.
Rather than trying to do all areas at once, work in small patches. One because you can test whether the wax is hot enough and two to make sure that you don’t experience any irritation or reaction.
Once the wax has hardened, hold your skin tightly before removing any wax, this way you’ll pull at an angle against your hair growth rather than just ripping it off your skin and bonus: it will help reduce any pain.
Do this step for all the areas you want to wax, but if you still see a couple of hairs after waxing, do not re-apply the wax. Simply use some tweezers and do it manually. Re-waxing will just aggravate the skin.

Aftercare
You’ve done it – the hard bit is over; wasn’t so bad, was it? Now you want to make sure you properly look after your skin – apply a light, anti-inflammatory cream over the waxed area to help calm your skin. You can also buy oils which will helps cool and calm any redness that you have.
If you’re new to this or just not used to it because we’re not all professionals, then you might have really red skin or blood spots – don’t worry, it’s usually the result of not holding your skin tight enough when you’re about to pull the wax off, but after a couple of go’s, this will no longer be an issue!
More importantly, make sure you don’t exfoliate till at least 5 days after you waxed. Your skin will be weaker and fresh; exfoliating after waxing can cause irritation which will ultimately get in the way of your silky, smooth legs!
Maintaining results
A big issue with hair removal is often ingrown hairs – to avoid these, make sure to keep exfoliating and moisturising to ensure there’s no build-up of dead skin and keep your skin looking fresh.
There you have it! It takes some practice to get professional results, so don’t worry if it hasn’t gone as you expected it would. If you just feel completely worried after reading this, then why not book an at-home wax with LeSalon? Our Salonettes will come to your house, so you don’t have to go out and find a salon and, even better, the results from our professional therapists will be exceptional. It’s really the best of both worlds.


